 Custer
 Marietta's Siding Problem Isn't Like a Siding Problem Inland
Homes in the Marietta area near Custer sit in a different exposure category than most of Whatcom County, and their siding shows it. You get salt-laden air moving off the water, wind-driven rain that hits walls sideways instead of just running down them, and a moss season that stretches for months because the shade, humidity, and mild temperatures never really let surfaces dry out completely. None of these things individually is unusual for western Washington. Together, applied to the same walls year after year, they age siding faster than a spec sheet ever suggests they will.
That combination matters because most siding failures we get called out for aren't dramatic. Nobody's siding falls off in a storm. It's slow: paint that won't hold, seams that swell, panels that cup at the edges, moss creeping up from the bottom courses, and moisture that got behind the cladding months or years before anyone noticed a problem on the surface. A siding product and installation that would perform fine in a drier, more sheltered part of the county can still struggle here if it wasn't chosen and installed with this specific exposure in mind.
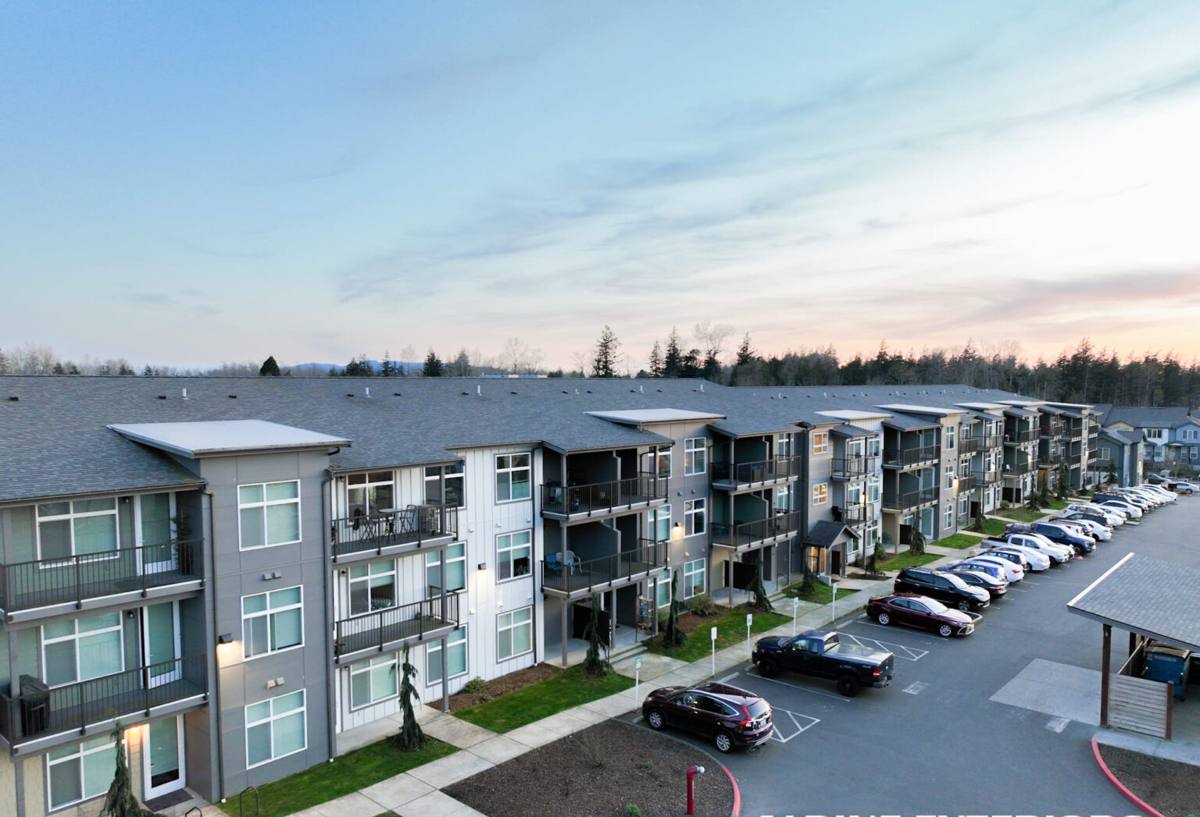
What Marietta's Climate Actually Does to a Wall
Salt Air
Airborne salt is corrosive to exposed metal — fasteners, flashing, trim edges — and it's abrasive to some coatings over time. It doesn't destroy siding on its own, but it accelerates the breakdown of whatever is marginal to begin with: a fastener that's the wrong material, a factory finish that's thin or unevenly cured, caulk that was never rated for the exposure.
Driving Rain
Wind off the water doesn't just add rain volume, it changes the direction water travels. Water gets pushed up under laps, into butt joints, and around trim that would stay dry in a calmer setting. This is a water-management problem more than a water-volume problem, which means the fix lives in the flashing, the weather-resistive barrier, and the lap detailing — not in the siding material alone.
Moss Season
Extended damp periods and shaded north and west walls give moss and algae a long runway to establish. Once organic growth takes hold at seams, fastener heads, or bottom courses, it holds moisture against the surface even longer, which is exactly the condition that speeds up rot in anything wood-based and coating failure in anything with a weak factory finish.
Why We Only Install James Hardie Fiber Cement
We don't offer vinyl, LP SmartSide, primed wood, or cedar siding, and that's a deliberate standard, not a limitation of what we know how to install. Vinyl moves and gaps with temperature swings and doesn't hold up to direct salt-air exposure as well as we'd want on a coastal wall. Wood and wood-composite products need a maintained paint film to keep water out, and in a climate that keeps surfaces damp for months at a time, that maintenance schedule gets punishing fast. We standardized on James Hardie fiber cement because it's non-combustible, dimensionally stable in wet-dry cycling, and comes from the factory with a ColorPlus finish that's baked on and warranted — not something that depends on how well a field-applied coat of paint holds up against salt air and shade-driven damp.
Hardie also makes region-specific product engineering part of the deal. Their HZ5 formulation is built for climates with more moisture exposure, which describes Marietta's siding conditions accurately. We're not choosing Hardie because it's the only option on the market — we're choosing it because, for this specific exposure, it's the one we're willing to warranty our labor against.
What Correct Installation Actually Involves
Fiber cement siding is only as good as the assembly behind it. On a wall exposed to driving rain, these details aren't optional extras — they're the difference between siding that lasts and siding that traps water where you can't see it.
Weather-Resistive Barrier and Flashing
A correctly lapped weather-resistive barrier, with flashing integrated at every window, door, and penetration, is what actually keeps wind-driven water out of the wall assembly. The siding sheds the bulk of the water; the barrier and flashing handle what gets past it.
Fastening
Fastener type, spacing, and placement all matter — corrosion-resistant fasteners driven correctly, not overdriven or underdriven, in the field and blind-nailed where the product calls for it. In a salt-air environment, the wrong fastener is a slow, guaranteed failure point.
Clearances and Gaps
Hardie specifies clearances from grade, roofing, decks, and other surfaces, along with gap widths at butt joints and trim. These aren't arbitrary numbers — they give the assembly room to manage water and movement without wicking moisture into the panel ends, which is one of the more common places we find rot when we tear off older siding.
Caulking and Sealant
Not every joint gets caulked, and the ones that do need the right sealant for the location and movement expected. Over-caulking traps water as often as under-caulking lets it in.
Field-Cut Edge Sealing
Every field cut exposes raw fiber cement that isn't factory-finished. Sealing those cut edges is a small step that gets skipped on rushed jobs and shows up years later as a failure point right at the cut line.
Our Process, Start to Finish
- Assessment — We walk the exterior, check the condition of the current siding and whatever's behind it where accessible, and look specifically at moss-prone faces, water paths, and any spots where past water intrusion has already left marks.
- Scope and Estimate — You get a written scope covering tear-off (if applicable), the weather barrier and flashing plan, the Hardie product line and profile, color, and trim details — not just a square-footage price.
- Prep and Tear-Off — Removing old siding is when we find out what's really going on behind it. Any damaged sheathing or framing gets addressed before anything new goes up, not covered over.
- Weather Barrier and Flashing Install — This layer goes on correctly before a single piece of siding is hung, because it's the layer you won't be able to inspect again once the job is done.
- Siding Installation — Installed to Hardie's fastening, clearance, and joint specifications for this climate zone, not generic best-effort spacing.
- Trim, Caulk, and Touch-Up — Cut edges sealed, joints finished, ColorPlus touch-up applied where needed at fastener heads and cuts.
- Walkthrough — We go over the finished job with you before calling it done, including care and maintenance specific to your home's exposure.
What Drives Cost on a Marietta Job
Every home is different, but the factors that move a Marietta project's price are consistent enough to lay out honestly.
| Factor | Why It Matters Here |
|---|---|
| Condition behind the old siding | Sheathing or framing repair needed from past water intrusion adds cost but shouldn't be skipped |
| Wall exposure (windward vs. sheltered) | Sides facing driving rain and open water may warrant heavier flashing detail or trim upgrades |
| Number of penetrations and trim details | Windows, vents, and architectural trim each add flashing and cut-edge work, not just material |
| Product line and profile | HardiePlank lap, HardiePanel, and shingle-style profiles carry different material and labor costs |
| Access and site conditions | Slopes, tight setbacks, or landscaping near walls affect staging and labor time |
We'd rather walk your home and give you real numbers than guess at a range that doesn't mean much until we've seen the walls.
Why It Matters That We Already Work This Area
A crew that installs siding across a wide mix of inland and coastal Whatcom County conditions treats every job the same way by default, because that's efficient — until it isn't. A crew that regularly works the Custer and Marietta area knows to check the north and west faces for moss buildup before quoting a repaint versus a full replacement, knows which trim details tend to fail first on homes with this exposure, and doesn't need to relearn the local conditions on your dime. That familiarity shows up less in the sales pitch and more in the small decisions made on the ladder — where to add an extra flashing detail, which joints get sealant and which don't, how tight the clearances need to be at grade.
Signs Your Current Siding Is Already Losing the Battle
Before deciding between a repair and a full re-side, it helps to know what to actually look for. Walk your exterior and check for these:
- Moss or dark streaking concentrated on north- or west-facing walls, especially near the bottom courses
- Paint that's peeling, bubbling, or chalking rather than just fading evenly
- Soft spots when you press on siding near the base of walls or under windows
- Visible gaps or separation at butt joints and corners
- Rust staining below fastener heads or trim
- Cupping, warping, or panels that no longer sit flat against the wall
- A musty smell or visible staining on interior walls that share an exterior with problem areas
Any one of these on its own might just mean a cleaning or a caulk touch-up. Several of them together, especially clustered on one exposure, usually means water has been getting behind the siding for a while.
Maintenance That Actually Matters Here
Fiber cement with a factory finish needs far less upkeep than wood or vinyl, but "less" isn't "none," especially with this much moss pressure. A yearly rinse of shaded and north-facing walls, prompt attention to any gutter overflow or splashback near the siding, and keeping vegetation and mulch beds pulled back from direct wall contact go a long way toward protecting the investment. Trim and caulk joints are worth a visual check each fall before the wet season sets in.
Get a Straight Answer on Your Home
If you're weighing a repair against a full re-side, or you just want an honest read on how your current siding is holding up against Marietta's exposure, we're glad to take a look. Reach out for a free, no-pressure estimate — we'll walk the exterior with you, tell you what we actually see, and lay out the options in plain terms using the form below.