 Custer
 Cherry Point's Climate Is Harder on Siding Than Most of the Country
Cherry Point sits right up against the Strait of Georgia, and that location shapes everything about how siding performs there. Homes here deal with three things at once, year-round: salt-laden air coming off the water, long stretches of driving rain pushed sideways by wind, and a moss and algae season that can run most of the year in Whatcom County's damp, low-sun-angle climate. Any one of those is manageable. All three together, hitting the same wall assembly, is what separates siding that lasts thirty years from siding that needs attention in year eight.
Salt air accelerates corrosion on anything metal — fasteners, flashing, trim screws — faster than it would a few miles inland. Wind-driven rain doesn't just wet the surface of a wall; it finds every unsealed seam, exposed fastener, and poorly lapped joint and pushes water behind the cladding. And moss and algae don't just look bad — they hold moisture against a wall surface long after a normal rain would have dried off, which matters most on siding profiles with more horizontal ledges and joints, like board and batten.
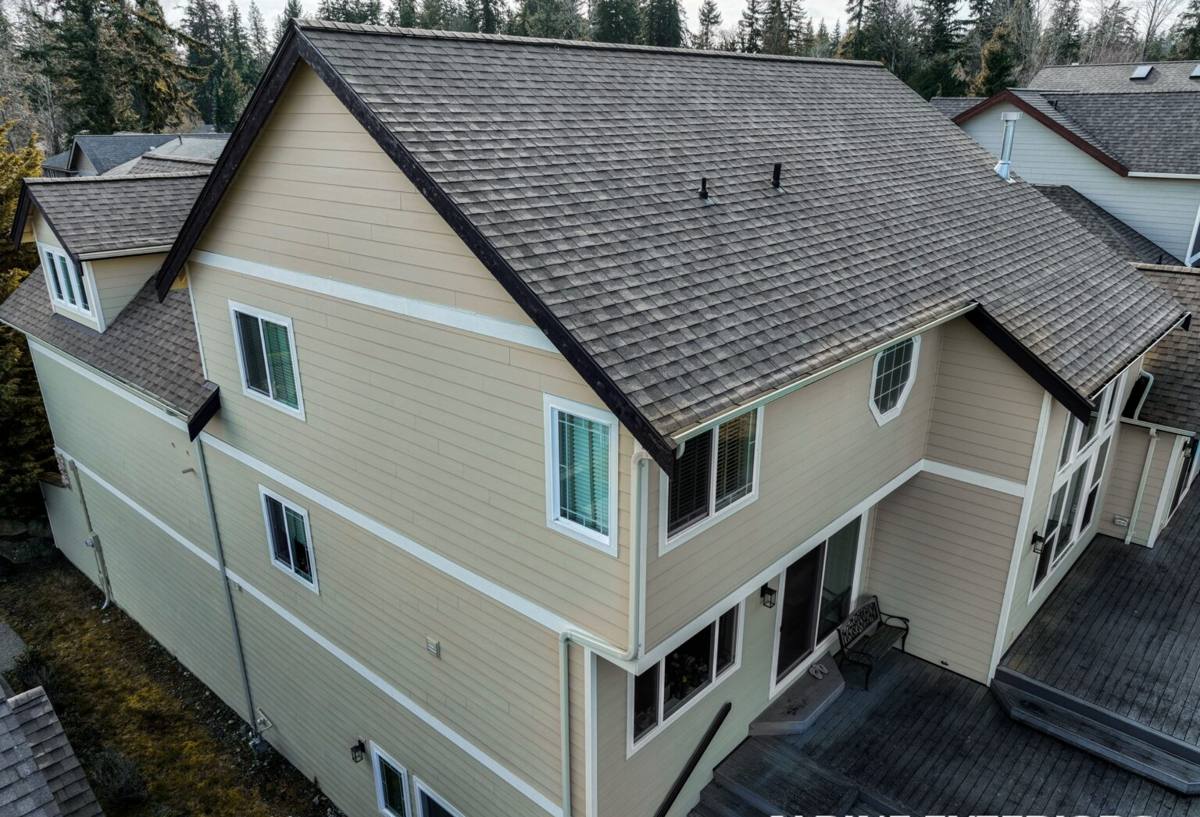
Why Board & Batten Is a Good Fit for Cherry Point Homes — If It's Built Right
Board and batten is a strong look for the kind of rural and semi-rural properties common around Cherry Point and Custer — barns, farmhouses, and newer builds that want that vertical, clean-lined exterior. The vertical orientation has a real functional advantage in a place with heavy rain: water runs down the face of the panel instead of collecting on a horizontal lap edge. That's a genuine plus in this climate.
The trade-off is that board and batten has more seams than standard lap siding — every batten strip creates a joint, and every joint is a place water can try to get behind the wall if it's not detailed correctly. In a low-rain climate that's a minor concern. In Cherry Point's climate, it's the single most important thing to get right. The style isn't the problem; sloppy execution of the style is.
What Homeowners Notice First When It's Done Wrong
- Dark streaking or green growth concentrated at batten joints and panel bottoms
- Rust bleed or staining running down from fastener heads
- Soft spots or bubbling near the base of the wall, especially close to grade or a downspout
- Caulk lines that have cracked, shrunk, or pulled away from the batten edges
- Paint or finish fading unevenly, with the salt-exposed side of the house aging faster
What a Correct Board & Batten Installation Actually Involves
Board and batten looks simple from the curb, but the assembly behind the face is where a job either holds up or fails early. For a Cherry Point property, we treat every one of these as non-negotiable, not optional upgrades.
Rainscreen Gap
A ventilated air gap between the back of the panel and the water-resistive barrier lets any moisture that does get past the face siding drain and dry out instead of sitting against the wall sheathing. Given the volume of wind-driven rain this area gets, skipping this gap is the single biggest shortcut we won't take.
Fastening Pattern and Fastener Material
Board and batten needs a specific nailing pattern through both the panel and the batten strip, driven to the manufacturer's depth spec — not just "close enough." In a salt-air environment, fastener material matters more than usual; corrosion-resistant fasteners rated for the exposure are the only ones that make sense here, because a fastener that starts rusting will telegraph a stain through the finish long before the siding itself is anywhere near failure.
Joint and Panel Flashing
Every horizontal joint, window and door head, and wall-to-roof transition needs flashing detail behind the siding, not caulk alone covering a gap. Caulk is a second line of defense, not the primary seal — homes that rely on caulk as the only barrier are the ones we get called to fix a few years later.
Starter Strips and Bottom Clearance
The bottom edge of the wall needs proper clearance off grade, decks, and roof lines so the lowest panel isn't sitting in standing water or constant splash-back — a common issue on older Custer-area homes where the siding was installed too close to the ground.
Why We Only Install James Hardie for This Look — Not Vinyl, Not LP, Not Wood
Board and batten shows up in vinyl, engineered wood, primed spruce, and cedar as well as fiber cement, and we get asked why we don't offer those cheaper or more traditional options. The honest answer is about how each one behaves in exactly the conditions Cherry Point has.
| Material | How It Holds Up Here | Why We Don't Install It |
|---|---|---|
| Vinyl board & batten | Can warp or bow with temperature swings; battens are often just applied trim over a flat panel | Doesn't provide real drainage detailing behind the joint; color fades and becomes brittle over time |
| LP SmartSide / engineered wood | Wood-based core is vulnerable if the factory seal is compromised at a cut edge or fastener hole | Moisture intrusion at damaged edges can lead to swelling in a climate this wet |
| Primed spruce / cedar | Natural material, real curb appeal, but needs ongoing paint and sealant maintenance | Salt air and constant moisture shorten the repaint cycle significantly versus inland use |
| James Hardie fiber cement | Non-combustible, dimensionally stable, factory-cured finish resists moisture and UV | What we install — engineered for climates like this one |
James Hardie's fiber cement panels are non-combustible and dimensionally stable, meaning they don't swell, warp, or rot the way wood-based products can when they take on moisture at a cut edge or fastener hole — a real risk in a climate where the siding rarely gets a long dry stretch. The ColorPlus factory finish is baked on and warranted against fading and peeling, which matters in an environment with both UV exposure and constant damp. Hardie also engineers its siding by climate zone, and the products used in the Pacific Northwest are formulated for high-moisture regions rather than a one-size-fits-all approach. That combination — non-combustible material, factory finish, and climate-specific engineering — is why we standardized on it and don't install the alternatives, even though some of them cost less upfront.
Our Process for a Cherry Point Board & Batten Project
The steps aren't unusual, but the details inside each one are where a Cherry Point job differs from a job done somewhere drier.
- Site walk and wall assessment. We look at existing moisture damage, grading, roofline transitions, and how exposed the wall is to prevailing wind and salt air before we quote anything.
- Tear-off or overlay decision. If the existing wall has hidden rot or a compromised barrier, we don't cover it up — that's how problems get sealed in rather than fixed.
- Weather barrier and rainscreen install. This is the layer nobody sees once the job is done, and it's the layer that determines whether the siding lasts.
- Panel and batten installation. Fastened to spec, with corrosion-resistant hardware and correct flashing at every joint and penetration.
- Trim, caulking, and finish check. Caulk as a secondary seal, not a substitute for flashing — and a final check on ColorPlus finish consistency.
- Walkthrough and warranty paperwork. You get clear documentation of what was installed and what's covered, including the transferable warranty.
Living With Board & Batten Siding in a Salt-Air, Moss-Heavy Climate
Correct installation gets you most of the way there, but board and batten in this environment still benefits from a bit of homeowner attention. None of this is heavy maintenance — it's mostly about catching small things early.
- Rinse the siding once or twice a year, focusing on north-facing and shaded walls where moss and algae take hold first
- Keep gutters clear so overflow isn't running down the wall face during heavy rain
- Trim back vegetation and tree cover that keeps a wall section shaded and slow to dry
- Check caulk lines at battens and trim every year or two and have any cracked sections redone
- Watch for any rust streaking at fastener heads — it's an easy fix early and a bigger one if ignored
Cost Factors for Board & Batten Siding Projects
Every property is different, but these are the variables that actually move the price on a Cherry Point board and batten job, more than the base material cost itself.
| Factor | Why It Matters |
|---|---|
| Tear-off vs. install over existing wall | Tear-off adds labor but lets us fix hidden moisture issues before they're sealed in |
| Number of stories and wall access | Second-story and hard-to-access walls take more time and equipment |
| Trim and joint complexity | More corners, windows, and roof transitions mean more flashing detail work |
| Condition of the water-resistive barrier | A barrier that needs replacing adds a step but is critical in this rainfall pattern |
| Battten spacing and panel width chosen | Narrower spacing uses more material and more fastening labor per square foot |
Why It Matters That We Already Work in Cherry Point
A crew that's worked this specific stretch of Whatcom County coastline knows which walls take the worst of the wind-driven rain, how far salt air travels inland from the water, and what the moss season actually does to a north wall versus a south wall on properties out here. That's not something you can fully account for from a generic install checklist written for a drier region. It also means we're familiar with Whatcom County's permitting expectations and typical inspection points, so there are fewer surprises mid-project. Board and batten siding done right in Cherry Point looks the same as board and batten done right anywhere — the difference shows up years later, in whether the joints stayed sealed and the fasteners stayed clean.
If you're weighing board and batten siding for a home in or near Cherry Point, we're glad to take a look and give you a straightforward, no-pressure estimate — no obligation, just an honest read on what your walls need.