 Custer
 What "New-Construction Windows" Actually Means
There are two very different ways to put a window into a wall. A retrofit or pocket window gets inserted into an existing frame during a remodel, using the old frame as the rough opening. A new-construction window has a nailing fin or flange around its perimeter and gets set directly into a framed, open rough opening before the weather-resistive barrier (WRB) and siding go on. That's the situation on most Blaine builds we work on — new homes, additions, and full tear-downs to the studs.
The difference matters because a new-construction window is only as good as the flashing and sequencing around it. Get that part right and the window will manage water for decades. Get it wrong, and the drywall looks fine for a year or two while moisture works its way in behind the trim where nobody can see it.
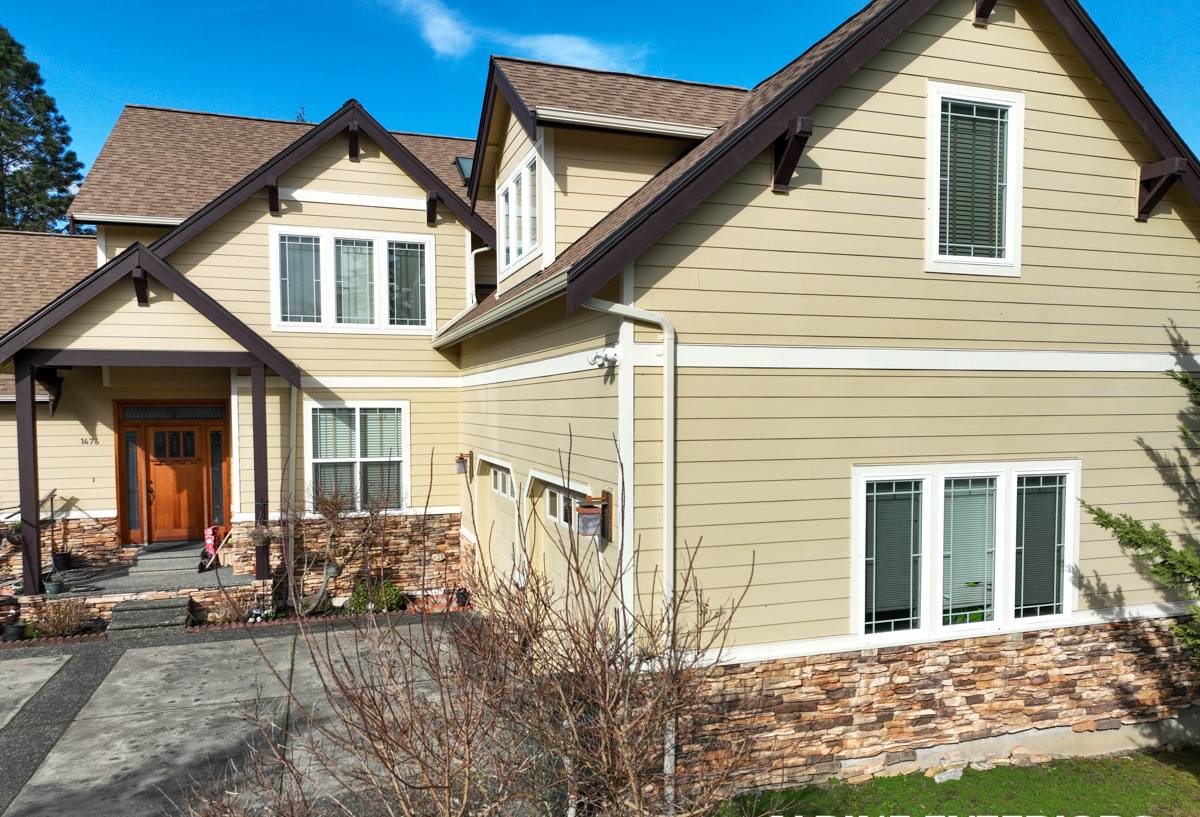
Blaine's Climate Puts Extra Load on Every Window Opening
Blaine sits on the water, right up against the Canadian border, and that location shapes how a window opening needs to be built. Three things come up on nearly every job we do here:
Salt Air
Air off Semiahmoo Bay and the Strait of Georgia carries salt that accelerates corrosion on unprotected metal — fasteners, hinge hardware, and cheap flashing all take a beating faster here than they would twenty miles inland. This isn't a defect in any one product; it's just what salt-laden coastal air does to metal over time, and it means hardware and flashing choices matter more in Blaine than in a lot of Whatcom County.
Driving, Wind-Blown Rain
Storms off the water don't just drop rain straight down — wind pushes it sideways and up under trim and sills. A window flashing detail that would be fine in a calm inland yard can fail on an exposed elevation in Blaine because the water is being driven into gaps that a still-air rain would never reach.
A Long Moss and Damp Season
Whatcom County's wet season runs long, and shaded, north-facing walls and window sills stay damp for weeks at a stretch. Anywhere water can pool — a sill without a back dam, a horizontal trim board without drainage gaps — becomes a spot for moss, algae, and slow wood decay to take hold.
None of this means Blaine is a bad place to build. It means the window installation has to assume moisture will find every opening, and be built so that when it does, it drains back out instead of sitting there.
Frame Material: What Holds Up Near the Water
We get asked a lot whether wood, vinyl, fiberglass, or aluminum-clad frames make the most sense for a Blaine build. There's no single right answer for every house, but here's how they actually compare for this location:
| Frame Material | Salt-Air Behavior | Maintenance | Typical Cost |
|---|---|---|---|
| Vinyl | Won't corrode; UV and coastal exposure can affect finish over many years | Low — rinse, no painting | Lower |
| Fiberglass | Very stable, resists corrosion and moisture movement well | Low | Mid to higher |
| Aluminum-clad wood | Exterior face resists weather; wood core still needs sound flashing behind the clad shell | Moderate — depends on install quality | Higher |
| Solid wood, no clad | Attractive but most exposed to moisture cycling on an exterior wall this close to the water | Higher — periodic refinishing | Varies |
Our standard for a fully exposed, water-facing elevation in Blaine is vinyl or fiberglass, with corrosion-resistant (stainless or coated) fastening hardware throughout. That's not a knock on wood or clad-wood windows — they can perform well — but they lean more heavily on flawless flashing and ongoing maintenance to do it, and we'd rather build in margin than count on nothing ever going wrong.
The Part Homeowners Never See: Flashing and Drainage
Once drywall and trim go up, nobody can see how a window was flashed. That's exactly why it's the part that separates a correct install from a problem waiting to surface. A proper new-construction window install follows a specific water-shedding sequence:
- Sill pan first. A sloped or back-dammed sill pan under the rough opening catches any water that gets past the window and directs it back outside — instead of into the framing.
- Weather-resistive barrier laps correctly. The WRB gets cut and folded into the opening, or a separate sill flashing membrane bridges it, before the window ever goes in.
- Window set, leveled, and fastened to spec. Shimmed plumb and square, fastened through the nailing fin at the pattern and spacing the manufacturer requires — not "close enough."
- Side and head flashing shingle-lapped. Each piece of flashing tape overlaps the one below it, so water always sheds downward and outward, never into a seam.
- WRB integration completed. The barrier gets taped back over the flanges so the whole assembly drains as one continuous plane before siding or trim covers it.
This sequence is the same principle building scientists have used for years — it's just easy to skip steps on a tight framing schedule if the crew isn't used to being held to it.
Meeting Washington's Energy and Egress Rules
New construction in Whatcom County has to meet the Washington State Energy Code, which sets a maximum U-factor for windows (how much heat they let escape) based on the compliance path the builder chose. We size and spec glazing to hit that target rather than guessing, and we flag it early if a builder's window schedule is going to fall short.
Beyond energy performance, code also drives some practical decisions: bedrooms need an egress-sized window with a clear opening that meets minimum width, height, and sill-height rules; glass near doors, stairs, and low to the floor generally needs to be tempered safety glass; and in higher wind-exposure locations, the window's design pressure rating needs to match what that wall will actually see. On a waterfront or unusually exposed lot, that wind rating deserves a second look rather than defaulting to whatever's standard inland.
Our Process on a Blaine New Build
Working directly with a builder's framing schedule is different from a standalone remodel — timing and sequencing both matter. Here's how we run it:
- Coordinate the schedule. We confirm rough openings are framed to spec and time our crew to the builder's timeline so windows go in at the right stage — not too early, not holding up the next trade.
- Check every opening before we set anything. Level, plumb, square, and correct size. Framing errors are far cheaper to fix before a window goes in than after.
- Install sill pan and flashing per the sequence above. Same standard on every opening, whether it faces the water or the back yard.
- Set, shim, and fasten the window to manufacturer spec. This protects the warranty and keeps the frame from binding or bowing later.
- Tie in the WRB and seal. Continuous drainage plane, no gaps at the corners.
- Coordinate exterior trim and siding tie-in so the finished water management works as one system, not windows flashed one way and siding lapped a different way around them.
- Final walkthrough. Every opening operates smoothly, locks engage, and nothing was missed before insulation and drywall close the wall up.
Why a Crew That Already Works Blaine Matters
Blaine isn't one uniform climate zone — a lot straight on Semiahmoo Bay takes a different wind and rain load than a lot a few blocks inland toward Custer. A crew that's installed windows across both knows which elevations need the extra flashing detail and higher wind rating and which don't, instead of applying a one-size-fits-all approach that either overspends on a sheltered lot or under-builds an exposed one.
There's also a practical side: familiarity with local building department expectations and with how area builders sequence their framing crews means fewer scheduling surprises and fewer callbacks to fix a detail that got rushed. That's less about any single trick and more about having done this exact job, on this exact stretch of coastline, enough times to know where the trouble spots actually are.
What Drives Cost on a New-Construction Window Job
Every new build is different, but the same handful of factors move the price up or down:
| Factor | Why It Matters |
|---|---|
| Number and size of openings | More openings and larger units mean more material and labor hours |
| Glazing upgrades | Higher-performance Low-E coatings, upgraded gas fills, or higher wind-pressure ratings cost more per unit |
| Flashing detail complexity | A fully exposed, water-facing wall needs more flashing steps than a sheltered elevation |
| Access and height | Second-story or hard-to-reach openings take longer to set safely |
| Trim and casing scope | Exterior trim complexity affects how the window ties into siding and finish work |
We'll walk through which of these actually apply to a given set of plans rather than quoting a flat per-window number that doesn't reflect the real job.
Pre-Drywall Checklist: What Gets Verified Before the Wall Closes Up
Before insulation and drywall cover everything, we check each opening against this list:
- Rough opening is level, plumb, square, and correctly sized for the specified unit
- Sill pan is in place with a back dam and positive slope to the exterior
- WRB is properly lapped and integrated with the sill flashing, not just stapled over it
- Window is shimmed square and fastened through the nailing fin at the manufacturer's spacing
- Head and side flashing are shingle-lapped in the correct order, no reverse laps
- All fasteners and hardware are corrosion-resistant, appropriate for coastal exposure
- Window operates smoothly and locks engage fully before trim goes on
- Egress-rated openings meet clear-opening dimensions where required
If you're building or adding on in Blaine and want windows installed the way this climate actually requires, we'd be glad to walk your plans and give you a straightforward, no-pressure estimate — just fill out the form below.