 Custer
 Siding Repair Built for Sandy Point's Waterfront Exposure
Sandy Point sits close enough to the water that its homes take a different kind of beating than a house a few miles inland in Custer. Salt-laden air, wind that drives rain sideways into wall assemblies, and a moss season that runs longer than most of Whatcom County all add up to siding problems that show up faster and hide deeper than they would elsewhere. When we get a repair call from this area, we're not treating it like a generic siding job — we're treating it like a coastal exposure job, because that's what it is.
This page is about siding repair specifically for Sandy Point homes: what actually fails out here, what a correct repair looks like, and why the answer usually isn't "just patch it and move on."
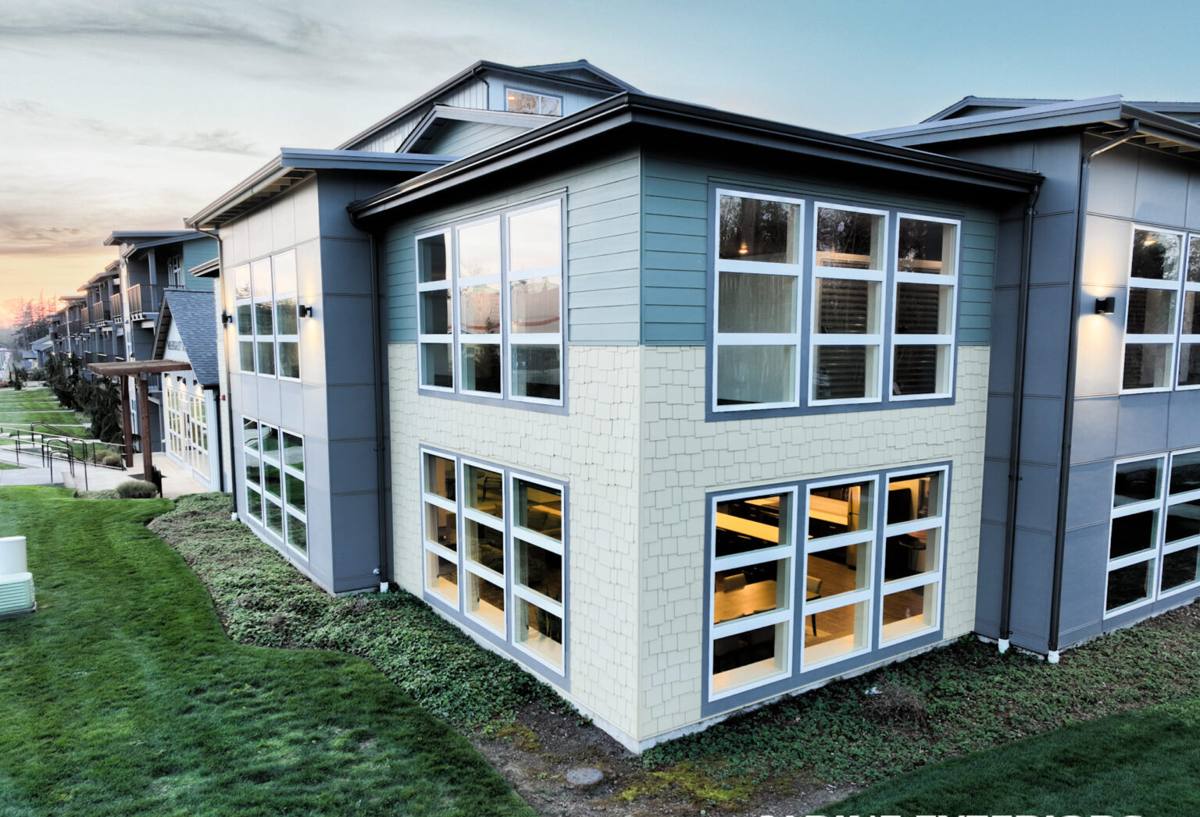
What Actually Damages Siding Near Sandy Point
Salt Air and Corrosion
Airborne salt doesn't just affect metal — it accelerates the breakdown of caulk, fasteners, and paint film on almost any siding material. Homes closer to the water see faster fastener corrosion and quicker failure of factory or field-applied finishes than homes set back from the shoreline. Once a fastener starts rusting, it stops holding tight, and a siding panel that's not held tight is a siding panel that starts letting water behind it.
Wind-Driven Rain
Sandy Point's exposure means rain rarely falls straight down here — it gets pushed sideways by wind coming off the water. That matters because siding is designed to shed water running down a wall, not water being forced sideways or upward at seams, laps, and butt joints. Wind-driven rain finds every gap in flashing, every under-caulked joint, and every place where siding wasn't lapped correctly, and it pushes moisture in rather than letting gravity carry it away.
A Long Moss and Mildew Season
Whatcom County's damp climate already runs a long moss season, and the humidity near the water stretches it further. Moss and algae hold moisture against the siding surface far longer than the material would otherwise stay wet, which softens caulk, degrades paint, and — on materials that aren't moisture-stable — starts breaking down the substrate itself. On homes with heavy shade or tree cover near Sandy Point, we see moss growth start earlier in fall and persist later into spring than on more exposed lots.
Where We Typically Find the Damage
- Butt joints and seams: the first place wind-driven rain gets pushed behind the siding plane
- Bottom courses near grade: splash-back, moisture wicking, and soil contact accelerate rot and swelling
- Around windows and doors: failed or missing flashing lets water track behind the siding and into sheathing
- Corners and trim transitions: caulk here fails first under salt exposure and constant flexing
- North- and shade-facing walls: slower drying, heavier moss, and softer material underneath
- Panel faces exposed to direct salt spray: premature finish breakdown even where the substrate is still sound
What a Correct Repair Actually Involves
A siding repair near the water isn't just about replacing the piece that looks bad. The visible damage is often the last stage of a problem that started behind the siding weeks or months earlier. Here's what we check on every repair call in this area, not just the spot the homeowner pointed to:
1. Diagnose the Water Path, Not Just the Symptom
Before we touch a single board, we trace how water is getting in. Is it a failed caulk joint, missing or corroded flashing, a fastener that backed out, or a panel that was never lapped correctly during the original install? Replacing the damaged piece without fixing the entry point means the same failure comes back, usually worse.
2. Check the Sheathing and Framing Behind It
If moisture has been getting behind the siding for any length of time, the sheathing or framing underneath may be soft, discolored, or already rotting. We open up the area enough to confirm what's underneath is sound before we close it back up. Skipping this step is how a $400 repair turns into a $4,000 problem two years later.
3. Match or Upgrade the Material Correctly
On repairs, we always look at what the existing siding is and whether patching it makes sense or whether the section should be upgraded. If the surrounding siding is already showing early signs of moisture damage, moss staining, or finish failure, a spot repair is often a short-term fix on a material that's aging out.
4. Rebuild Flashing and Water Management Correctly
Any repair around a window, door, or butt joint gets proper flashing and house wrap integration, not just fresh caulk over the old problem. Caulk is a maintenance item — it's not a substitute for correct flashing and lap sequencing.
5. Reseal and Finish to Match
Where we're patching into existing ColorPlus-finished Hardie siding, we match color and reseal joints with the right sealant for a factory-finished fiber cement surface, so the repair blends in rather than standing out as an obvious patch.
Repair vs. Replace: How We Help You Decide
Not every problem needs full replacement, and not every problem should be patched. Here's how we walk homeowners through that decision on a Sandy Point property:
| Situation | Usual Recommendation | Why |
|---|---|---|
| Isolated damage, siding otherwise sound and under 10-15 years old | Targeted repair | The material and finish still have useful life; fix the entry point and matching panel |
| Repeated failures at the same wall or corner | Repair plus water management upgrade | Points to a systemic flashing or lapping issue, not a one-time defect |
| Widespread moss staining, soft spots, or finish failure across multiple walls | Full or partial siding replacement | Patching individual spots won't keep pace with material that's failing broadly |
| Original siding is a moisture-sensitive material (untreated wood, older composite, damaged vinyl) | Replacement with fiber cement | Repeated coastal exposure repair costs on these materials add up fast compared to one correct install |
| Sheathing or framing damage found behind the siding | Replacement of that wall section, minimum | You can't repair siding correctly over compromised framing |
Why We Only Install James Hardie Fiber Cement
When a repair does turn into a replacement — of a section, a wall, or the whole house — we install James Hardie fiber cement and nothing else. That's a deliberate standard, not a default. Fiber cement doesn't absorb moisture the way wood-based products can, it doesn't support rot, and it holds up to salt air and driving rain far better over the long run than materials that rely on a thin coating or a foam core to keep water out. Hardie's engineered HZ5 product line is built specifically for climates with heavy moisture exposure, which describes Sandy Point about as well as any location in Whatcom County. The factory-applied ColorPlus finish also matters here specifically: it resists the fading and cracking that salt air and UV accelerate on field-painted surfaces, which means fewer repaint cycles and fewer caulk failures over time. We won't put vinyl, LP SmartSide, or untreated wood products on a home in this exposure zone — we've seen how much faster those materials break down near the water, and we'd rather do the job once with a material built for it.
Our Process for a Sandy Point Repair Call
- On-site inspection: we look at the reported damage plus every high-risk area listed above, not just the spot you noticed
- Moisture and structural check: we confirm whether sheathing or framing behind the siding has been compromised
- Honest repair-vs-replace recommendation: based on the age, material, and extent of damage — not on selling the biggest job possible
- Written estimate: scope, materials, and cost laid out before any work starts
- Correct repair execution: water path fixed first, then structure, then siding and finish match
- Final walkthrough: we show you what was found and what was done, in plain language
Why a Crew That Already Works Sandy Point Matters
Coastal exposure siding problems aren't the same everywhere, and a crew that mostly works inland jobs can miss what's specific to this stretch of Whatcom County. Knowing how far wind-driven rain typically pushes past a standard lap here, how early moss shows up under shaded eaves near the water, and which wall orientations take the worst of the salt exposure comes from doing this work in this area repeatedly — not from a general siding checklist. That local pattern recognition is often the difference between a repair that holds and one that comes back in a year.
A Practical Homeowner Checklist
- Walk your home's exterior twice a year and look closely at butt joints, corners, and areas below windows
- Check for soft spots by pressing gently on siding near the bottom courses and around penetrations
- Look for moss or dark staining that persists even in drier months — it signals a wall that isn't drying properly
- Note any caulk joints that look cracked, shrunk, or pulled away from the surface
- Don't ignore a small stain or bubble on interior walls near exterior corners — it often traces back to a siding failure outside
- Get a professional look at repeated problem spots rather than re-caulking the same joint year after year
If you're seeing damage, staining, or repeated caulk failures on a Sandy Point home, we're happy to take a look and give you a straight answer on what's actually going on — no pressure, no inflated scope. Request a free estimate and we'll walk the exterior with you and tell you exactly what we find.